
记一次在 Windows 环境下手动安装多个不同版本的 MySQL 的过程,并且设置手动启动服务,避免长时间占用后台资源。
1. 下载 MySQL 软件压缩包
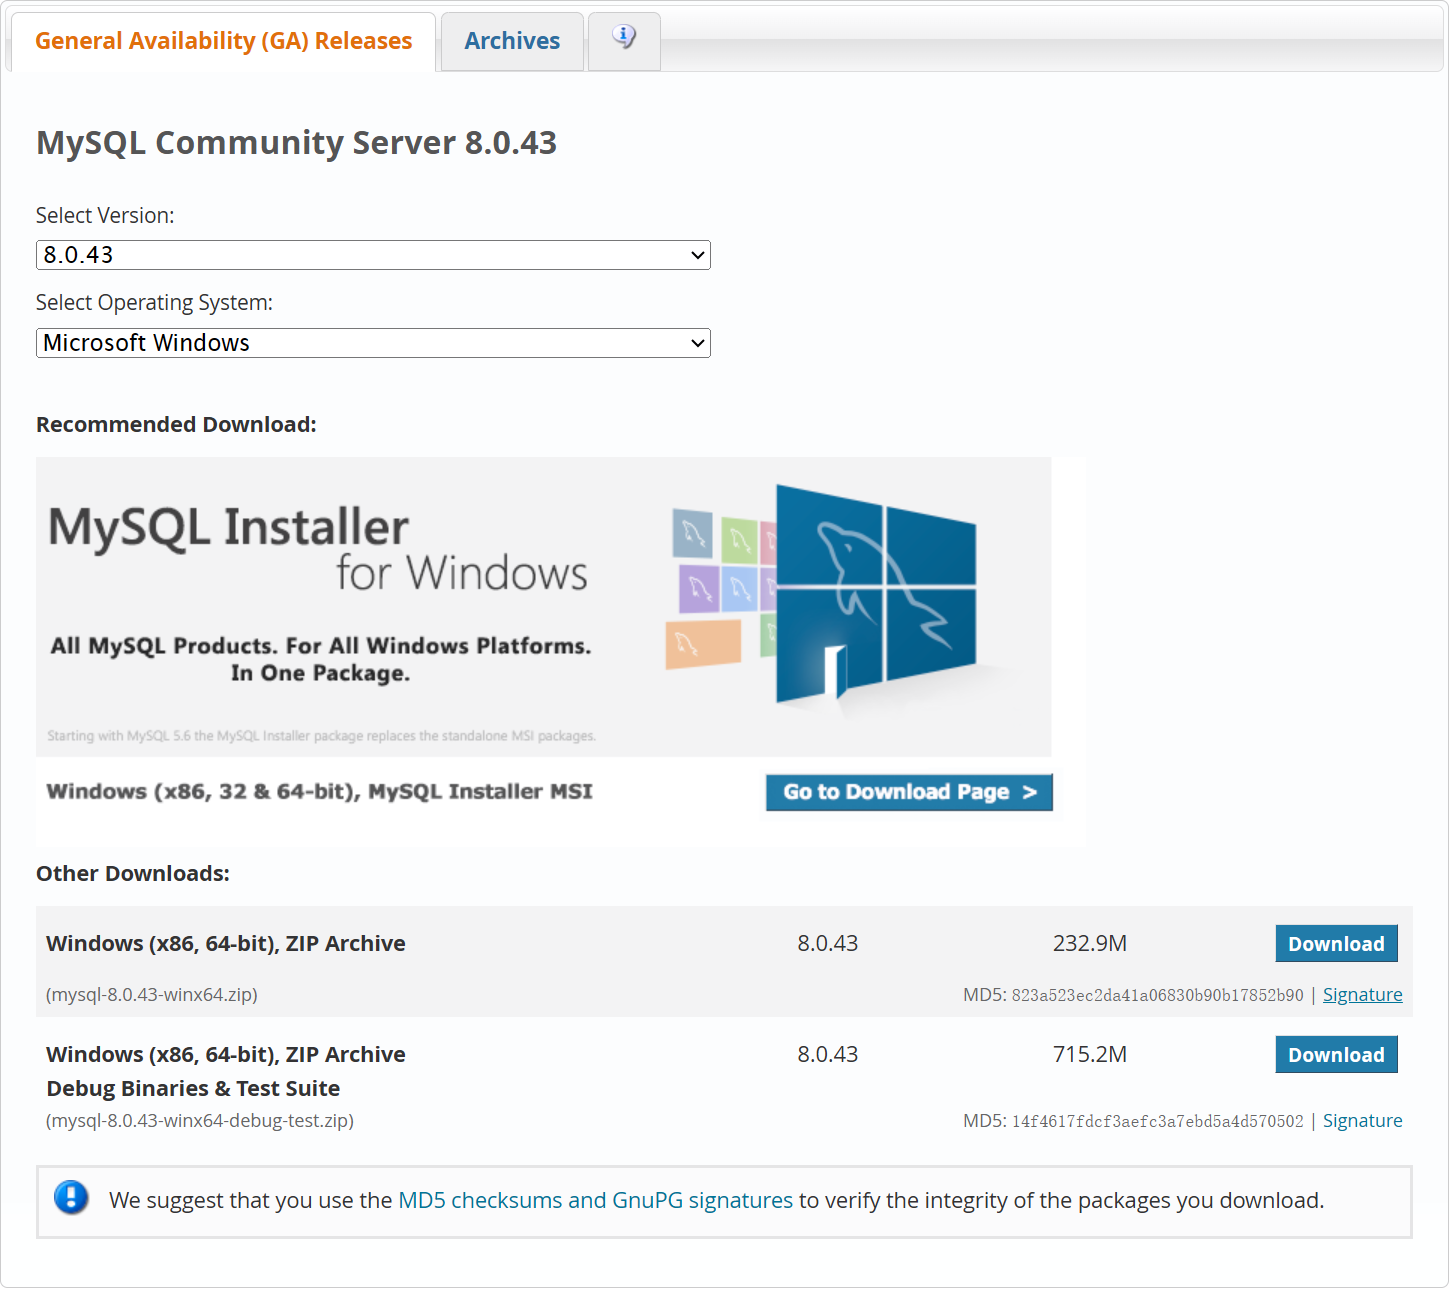
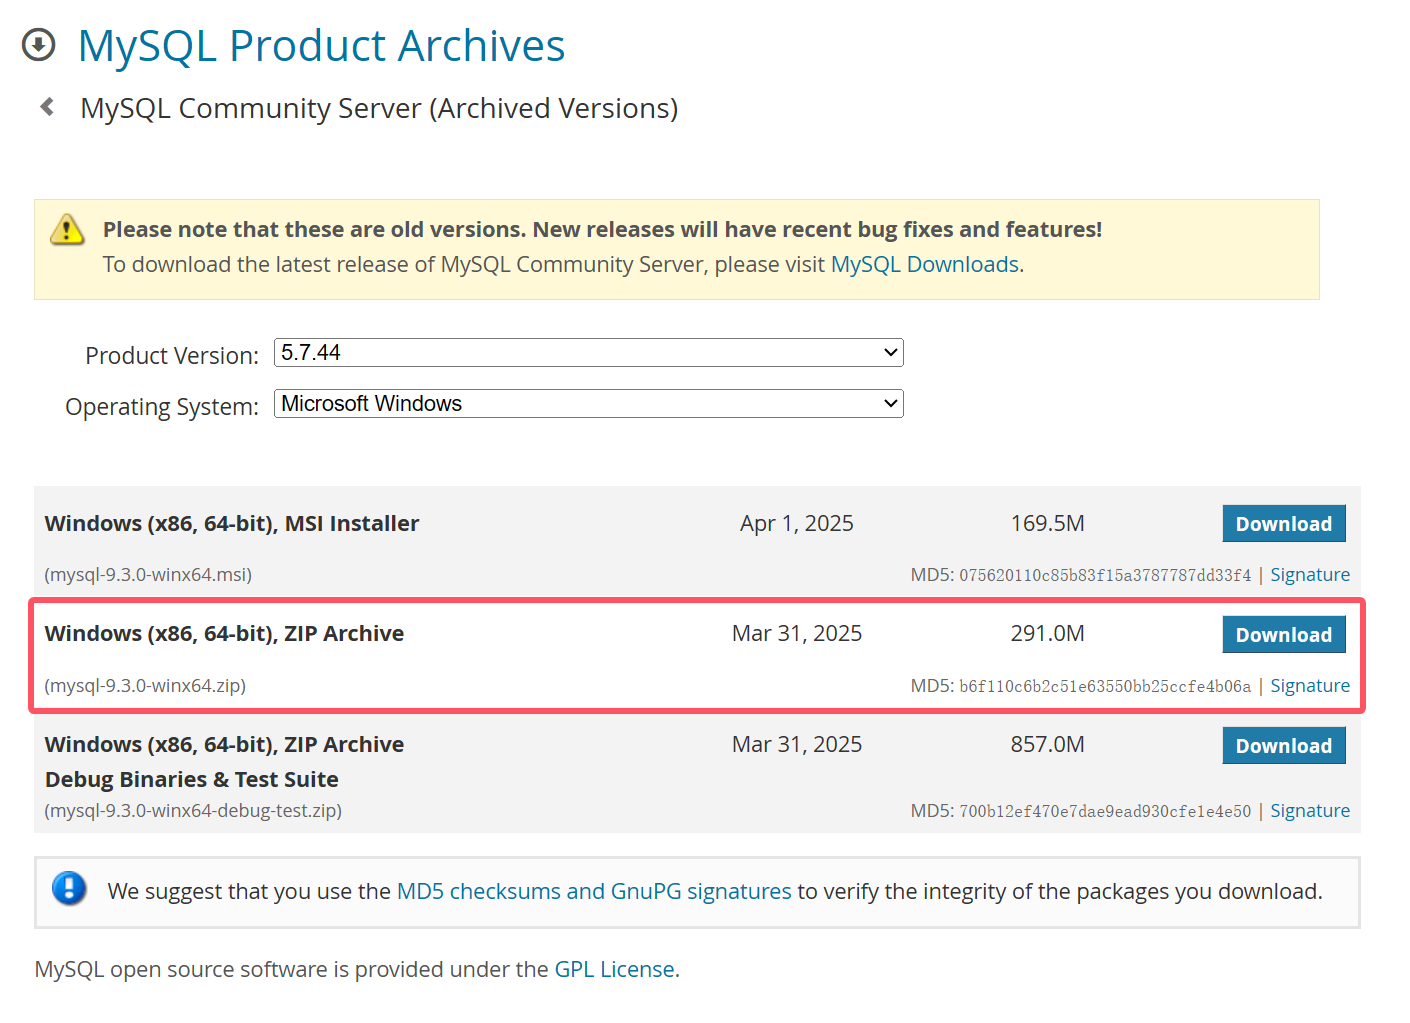
下载网址:https://dev.mysql.com/downloads/mysql/
找到需要的 MySQL 版本,选择 Windows (x86, 64-bit), ZIP Archive 下载即可。
 |
 |
|---|---|
| 最新版本下载页面 | 历史版本下载页面 |
2. 解压缩
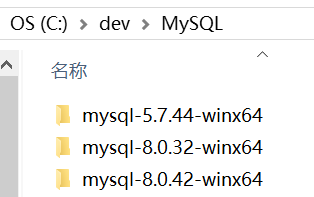
将上一步下载好的压缩包分别解压至合适的位置。
3. 创建配置文件
在 MySQL 软件根目录下创建名为 my.ini 的配置文件。
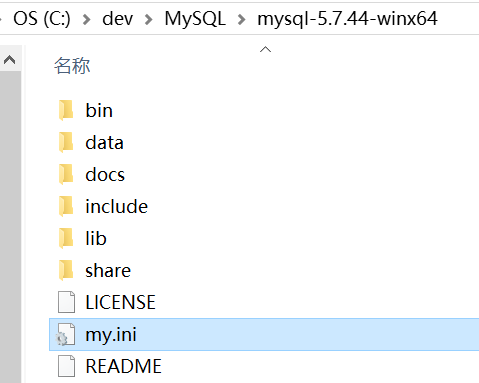
配置文件内容如下:
[client]
# 客户端默认字符集
default-character-set=utf8mb4
# 客户端连接的默认端口号
port=5744

[mysqld]
# MySQL 服务的端口号(根据需要设置即可,我这里设置为与版本号一致)
port=5744
# MySQL 的安装目录
basedir="C:\dev\MySQL\mysql-5.7.44-winx64"
# 设置 MySQL 数据库的数据的存放目录
datadir="C:\dev\MySQL\mysql-5.7.44-winx64\data"
# 允许最大连接数
max_connections=20
# 字符集
character-set-server=utf8mb4
# 排序规则
collation-server=utf8mb4_general_ci
# 创建新表时将使用的默认存储引擎
default-storage-engine=INNODB
4. 初始化 MySQL
在 bin 目录下打开终端执行 .\mysqld.exe --initialize --console 命令以初始化 MySQL,初始化成功后将输出 root 用户的临时密码。例如下面的临时密码就是 p0q%adaOseZe。
C:\dev\MySQL\mysql-5.7.44-winx64\bin>.\mysqld.exe --initialize --console
2025-08-11T03:11:13.767360Z 0 [Warning] TIMESTAMP with implicit DEFAULT value is deprecated. Please use --explicit_defaults_for_timestamp server option (see documentation for more details).
2025-08-11T03:11:14.125029Z 0 [Warning] InnoDB: New log files created, LSN=45790
2025-08-11T03:11:14.221824Z 0 [Warning] InnoDB: Creating foreign key constraint system tables.
2025-08-11T03:11:14.318691Z 0 [Warning] No existing UUID has been found, so we assume that this is the first time that this server has been started. Generating a new UUID: d6eb798b-7660-11f0-9b33-00ff84a6f5fe.
2025-08-11T03:11:14.324439Z 0 [Warning] Gtid table is not ready to be used. Table 'mysql.gtid_executed' cannot be opened.
2025-08-11T03:11:14.661271Z 0 [Warning] A deprecated TLS version TLSv1 is enabled. Please use TLSv1.2 or higher.
2025-08-11T03:11:14.661576Z 0 [Warning] A deprecated TLS version TLSv1.1 is enabled. Please use TLSv1.2 or higher.
2025-08-11T03:11:14.665021Z 0 [Warning] CA certificate ca.pem is self signed.
2025-08-11T03:11:14.802173Z 1 [Note] A temporary password is generated for root@localhost: p0q%adaOseZe
如果之前安装过 MySQL,可以直接把原来的 data 目录复制过来,或者在配置文件中将 datadir 配置为之前的目录,从而直接使用原来的数据。(不同的版本可能无法这样操作)
5. 安装 MySQL 服务并启动
以管理员身份运行终端,cd 到 bin 目录下执行 .\mysqld.exe --install <服务名> --defaults-file=<配置文件路径> 命令以安装 MySQL 服务。
执行 sc config <服务名> start=demand 命令以配置 MySQL 服务为手动启动。
执行 net start <服务名> 命令以启动 MySQL 服务。
服务名似乎不区分字母大小写,安装为
MySQL5744的服务,使用mysql5744也能启动。使用
net stop <服务名>命令可停止 MySQL 服务。使用
.\mysqld.exe --remove <服务名>命令可卸载 MySQL 服务。
C:\Windows\system32>cd \dev\MySQL\mysql-5.7.44-winx64\bin

C:\dev\MySQL\mysql-5.7.44-winx64\bin>.\mysqld.exe --install MySQL5744 --defaults-file="C:\dev\MySQL\mysql-5.7.44-winx64\my.ini"
Service successfully installed.

C:\dev\MySQL\mysql-5.7.44-winx64\bin>sc config MySQL5744 start=demand
[SC] ChangeServiceConfig 成功

C:\dev\MySQL\mysql-5.7.44-winx64\bin>net start mysql5744
MySQL5744 服务正在启动 .
MySQL5744 服务已经启动成功。
如果启动失败,可以到配置文件 my.ini 配置的数据存放目录查找 设备名称.err 的日志文件查看原因。
6. 修改 root 密码
在 bin 目录下执行 .\mysqladmin.exe -u root -p password <新密码> 命令以修改 root 用户的密码,执行后需输入初始化时显示的临时 root 用户密码。
C:\dev\MySQL\mysql-5.7.44-winx64\bin>.\mysqladmin.exe -u root -p password 1234
Enter password: ************
mysqladmin: [Warning] Using a password on the command line interface can be insecure.
Warning: Since password will be sent to server in plain text, use ssl connection to ensure password safety.
检查一下新密码是否可用。
C:\dev\MySQL\mysql-5.7.44-winx64\bin>.\mysql.exe -u root -p
Enter password: ****
Welcome to the MySQL monitor.  Commands end with ; or \g.
Your MySQL connection id is 4
Server version: 5.7.44 MySQL Community Server (GPL)

Copyright (c) 2000, 2023, Oracle and/or its affiliates.

Oracle is a registered trademark of Oracle Corporation and/or its
affiliates. Other names may be trademarks of their respective
owners.

Type 'help;' or '\h' for help. Type '\c' to clear the current input statement.

mysql>
7. 创建脚本文件实现一键启停
在 MySQL 软件根目录下创建名为 start.cmd 的 Windows 命令脚本文件,用于启动 MySQL 服务,内容如下:
net start mysql5744
timeout /t 3
在 MySQL 软件根目录下创建名为 stop.cmd 的 Windows 命令脚本文件,用于停止 MySQL 服务,内容如下:
net stop mysql5744
timeout /t 3
使用 net 命令启停 MySQL 服务需要管理员权限
选中这两个脚本文件,使用鼠标右键拖动到当前文件夹内,在弹出的菜单中选择在当前位置创建快捷方式,右键刚刚新建的快捷方式,点击快捷方式选项卡下的高级按钮,勾选用管理员身份运行复选框,确定保存。
这样,双击快捷方式就可以直接以管理员身份运行启停脚本了,十分的优雅。